• Contact Us
  • Select a Location
    Close Location Selection

    Current Location:

    Let us know the location you'd like to browse.

    Select a Location
    OR

Changing Email Server Settings for Android

Solution

Use the following steps to update your Android Email app to secure port settings for sending and receiving your Cox Business email.


The images and steps below are for reference only. For more help using your Email app, contact your wireless provider.
1

To open your Email app, tap the Email icon.

2

On the upper-left corner, tap the Menu icon.

3

Tap the Settings icon.

4

From the Email settings window, tap your Cox Business Email account.

5

Scroll down to the Advanced settings section and then tap Server settings.

6

Complete the following under the Incoming server section.

  1. In the Security type drop-down menu, ensure SSL is selected.
  2. In the Port field, update one of the following port numbers based on if you use POP or IMAP.
    • For IMAP, delete 143 and then enter 993.
    • For POP, delete 110 and then enter 995.
7

Complete the following under the Outgoing server section.

  1. In the Security type drop-down menu, ensure SSL is selected.
  2. In the Port field delete 25 and then enter 465.
8

Tap Done.

New MyAccount

Cox Business MyAccount Updates

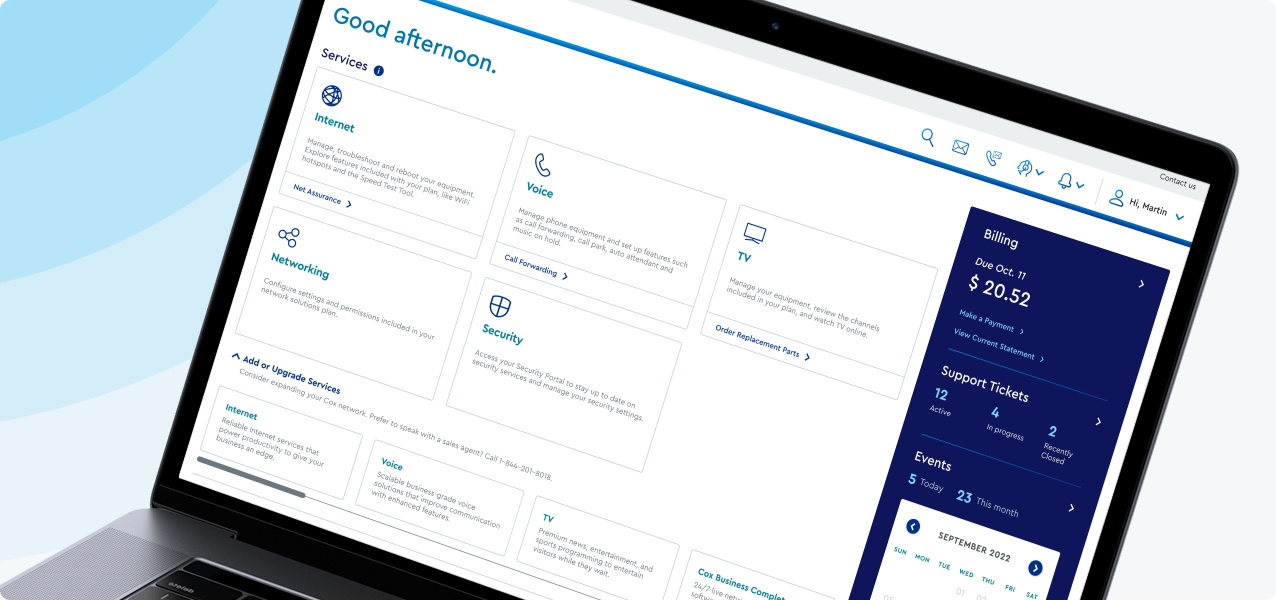
With the new and improved MyAccount portal from Cox Business, you’re in control. Included with your Cox Business services, it’s all right at your fingertips anytime, anywhere. 


  • Perform a health check on your services and reset your equipment
  • Easily configure key features and settings like voicemail and call forwarding
  • View your balance and schedule payments

Search Cox Business Support

Didn't Find What You Were Looking For? Search Here.