• Contact Us
  • Select a Location
    Close Location Selection

    Current Location:

    Let us know the location you'd like to browse.

    Select a Location
    OR

Creating Advanced Port Configurations in the Technicolor CGA4131 or CGA4332 Administrative Portal

Solution

From the Technicolor CGA4131 or CGA4332 Administrative Portal you can configure the following advanced port settings.

  • Port Forward
  • Port Trigger
  • Port Filter

Port Forward

Port forwarding allows you to forward incoming internet traffic arriving on a specific port to an internal IP address.

Important: If the target device does not use a static IP address, then the target device may get a new IP address which results in the port forwarding rule to no longer be applied to the device. Verify that the target device has a static IP address before creating a port forwarding rule.
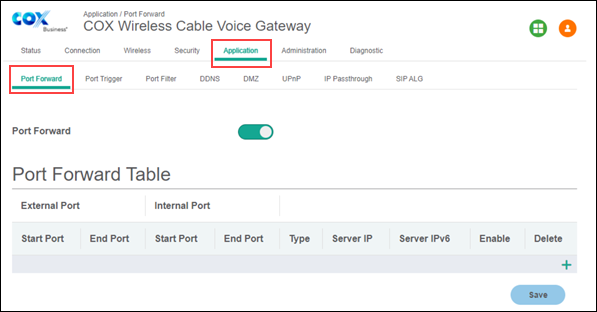
image of the port forward menu

Port Trigger

Port triggering allows you to define a set of dynamic port forwarding rules that are activated when the device sends traffic to the internet over a specific port. Port triggering is ideal for the following special applications.

  • Video conferencing programs
  • Interactive gaming
  • File transfer or chat programs

The port trigger settings are dynamically activated and are not constantly open via the router administrator.
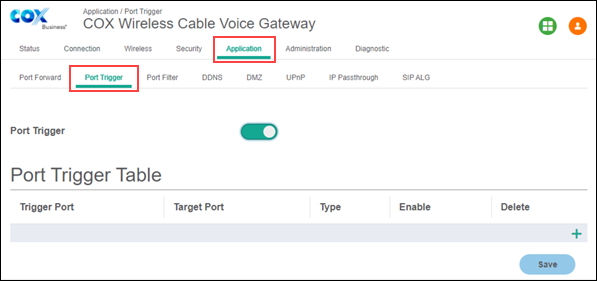
image of the port trigger menu

Port Filter

Port filtering blocks certain port requests coming from outside devices to the devices on your local network connected through your router. Port Filter allows you to set the range of ports to be blocked.
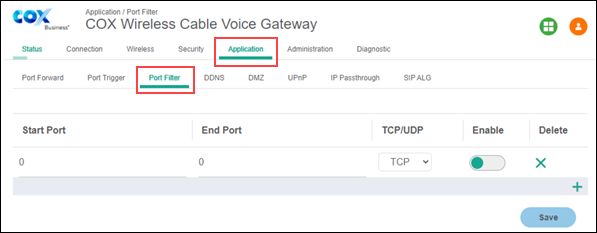
image of the port filter menu

For assistance with creating advanced port configurations, contact Cox Business Complete Care.
1

Open a web browser and enter http://192.168.0.1.

2

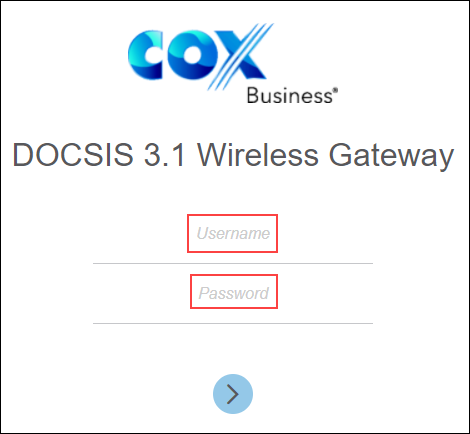
Enter your username and password.

Note: If this is your first time accessing the administrative portal, then you will need to leave the username and password fields blank.

image of the administrative portal login page

3

From the Administration menu, click the Application tab.

image of the admin portal application tab

4

Which advanced port configuration do you want to manage?

If...Then...
Port Forward
  1. Click the Port Forward subtab.
  2. From the Port Forward Table, click the + icon.

    Result: A pop-up window displays.

  3. Select IPv4 or IPv6.
  4. From the Port Forward screen, select the Start Port and End Port range.
  5. From the Type column, select TCP, UDP, or Both.

    Note: The Server IP should be the target device's IP address.

  6. Click Enable.
  7. Click Save.

    Note: To delete an entry, click X.
Port Trigger
  1. Click the Port Trigger subtab.
  2. From the Port Trigger Table, click the + icon.
  3. Select the Trigger Port and Target Port.
  4. From the Type column, select TCP, UDP, or Both.
  5. Click Enable.
  6. Click Save.

    Note: To delete an entry, click X.
Port Filter
  1. Click the Port Filter subtab.
  2. Click the + icon.
  3. From the Port Filter display, you can modify the following.
    • Range of ports
    • Traffic / protocol
    • Enable the filter
    • Delete the filter entry
  4. Click Save.
New MyAccount

Cox Business MyAccount Updates

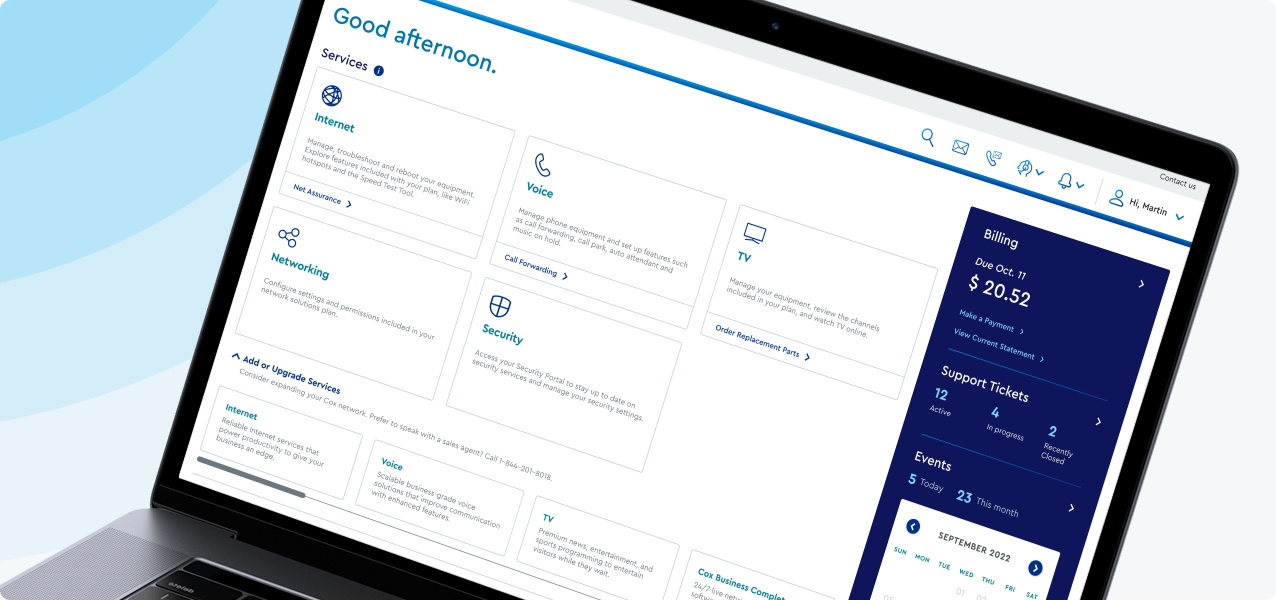
With the new and improved MyAccount portal from Cox Business, you’re in control. Included with your Cox Business services, it’s all right at your fingertips anytime, anywhere. 


  • Perform a health check on your services and reset your equipment
  • Easily configure key features and settings like voicemail and call forwarding
  • View your balance and schedule payments

Search Cox Business Support

Didn't Find What You Were Looking For? Search Here.