• Contact Us
  • Select a Location
    Close Location Selection

    Current Location:

    Let us know the location you'd like to browse.

    Select a Location
    OR

Managing Contour Scheduled Recordings

Solution

You can review and manage scheduled recordings using the steps below.


1

Press the Contour button on the Cox remote.

Result: The Main Menu displays.


2

Highlight Saved, then press OK.

Result: The For You screen displays.


3

Highlight Scheduled.


4
Refer to the table below and complete the steps to work with scheduled recordings. 

ActionSteps
Change the priority of a scheduled recording.
  1. Press the down arrow to highlight Series Priority, then press OK.
  2. Use the up and down arrows to highlight a scheduled recording, then press OK.
  3. Use the up and down arrows to move the scheduled recording in the priority list, then press OK.

    Result: A confirmation message displays.
     
  4. Use the right arrow to highlight Confirm, then press OK

    If you accidentally exit this menu without confirming changes, a Save Changes message displays.

Start a recording early or extend the stop time.
  1. Use the up and down arrows to highlight a scheduled recording, then press OK.
  2. Use the left and right arrows to highlight Options, then press OK.
  3. Use the left and right arrows to choose to change the recording time for Just this Episode or All Future Recordings, then press OK.
  4. Use the up and down arrows to highlight Start or Stop, then press OK.
  5. Do one of the following.
    • Use the up and down arrows to choose 1 or 2 minutes early, then press OK.
    • Use the up and down arrows to choose 3, 5, or 30 minutes late, then press OK

      For live events, the options are 30, 60, or 90 minutes late. Recordings of some live sports events will be extended automatically for overtime or extra innings.

Cancel a scheduled recording.
  1. Use the up and down arrows to highlight the scheduled recording.
  2. Press D.
Cancel a series recording.
  1. Use the up and down arrows to highlight the next scheduled recording of the series, then press OK.
  2. Use the left and right arrows to highlight Record Options, then press OK.
  3. Use the left and right arrows to highlight Cancel, then press OK.
  4. Press the right arrow to highlight All Future Recordings, then press OK.
Cancel a series recording when there are no upcoming episodes listed.
  1. Located in the top menu options, press the arrow buttons to highlight Series Priority, then press OK.
  2. Press the down arrow to highlight the series, then press Info.
  3. Highlight Record Options, then press Ok
  4. Highlight Cancel, then press the Ok to cancel the series recording.

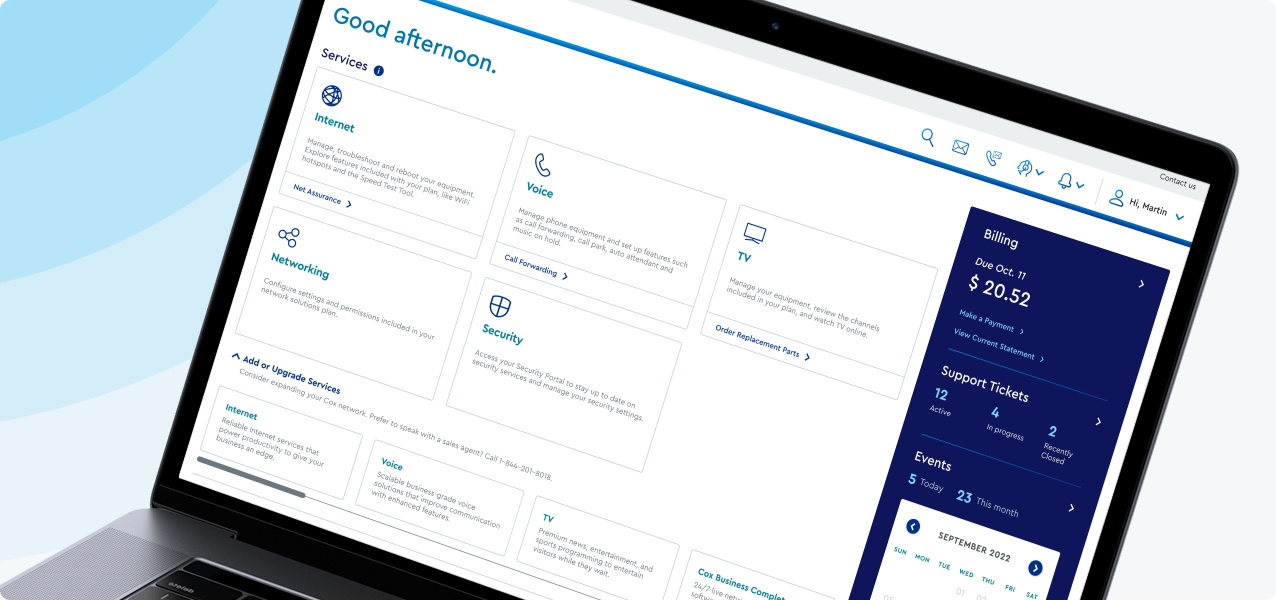
New MyAccount

Cox Business MyAccount Updates

With the new and improved MyAccount portal from Cox Business, you’re in control. Included with your Cox Business services, it’s all right at your fingertips anytime, anywhere. 


  • Perform a health check on your services and reset your equipment
  • Easily configure key features and settings like voicemail and call forwarding
  • View your balance and schedule payments

Search Cox Business Support

Didn't Find What You Were Looking For? Search Here.