• Contact Us
  • Select a Location
    Close Location Selection

    Current Location:

    Let us know the location you'd like to browse.

    Select a Location
    OR

Managing Email Aliases in Mailbox Manager

Solution

An email alias works like another email address that receives mail into the same primary email account's inbox. This lets users have multiple different email addresses that all send to the same inbox.

Accounts with one or more aliases will have an alias tag next to the mailbox name in the list, and the aliases will be listed in the mailbox view that appears on the right-hand side of the screen when the mailbox is selected.

Refer to the following list for reasons someone might want to use an email alias.

  • Convenience: Manage email from different addresses without having to check multiple inboxes.
  • Privacy: Use aliases to sign up for newsletters, shopping sites, or for your work, keeping your main email address separate.
  • Organization: Automatically sort and filter your email based on the alias it was sent to, making it easy to manage incoming mail.
  • Temporary: Aliases can be deleted whenever they’re no longer needed - keep them forever, or only as long as you need them.
  • Reduce Spam: If an alias gets a lot of spam, it can be deleted without affecting the main email account.

To manage email aliases, complete the following steps.

1

From the Mailbox Detail View for the mailbox, click Manage aliases.

Image of Everymail Manage Aliases option.
2

Refer to the following table for steps to add or remove an email alias.

If… Then…
Adding aliases
  1. From the Manage aliases window, in the Add new alias field, enter the name you want to use.
  2. Click Add.

    Image of Everymail Manage aliases window highlighting the Add options.

  3. Repeat steps a. and b. for any additional aliases you want to add.
Deleting aliases From the Manage aliases window, under the Aliases section, click the trash can icon to the right of the alias you want to delete.

Image of Everymail Manage aliases window highlighting the Delete options.
3

Click Save.

Notes:

  • Adding or deleting aliases does not take effect until you click Save.
  • If you try to add an alias with the same name as another mailbox or alias, you will get an error message.
New MyAccount

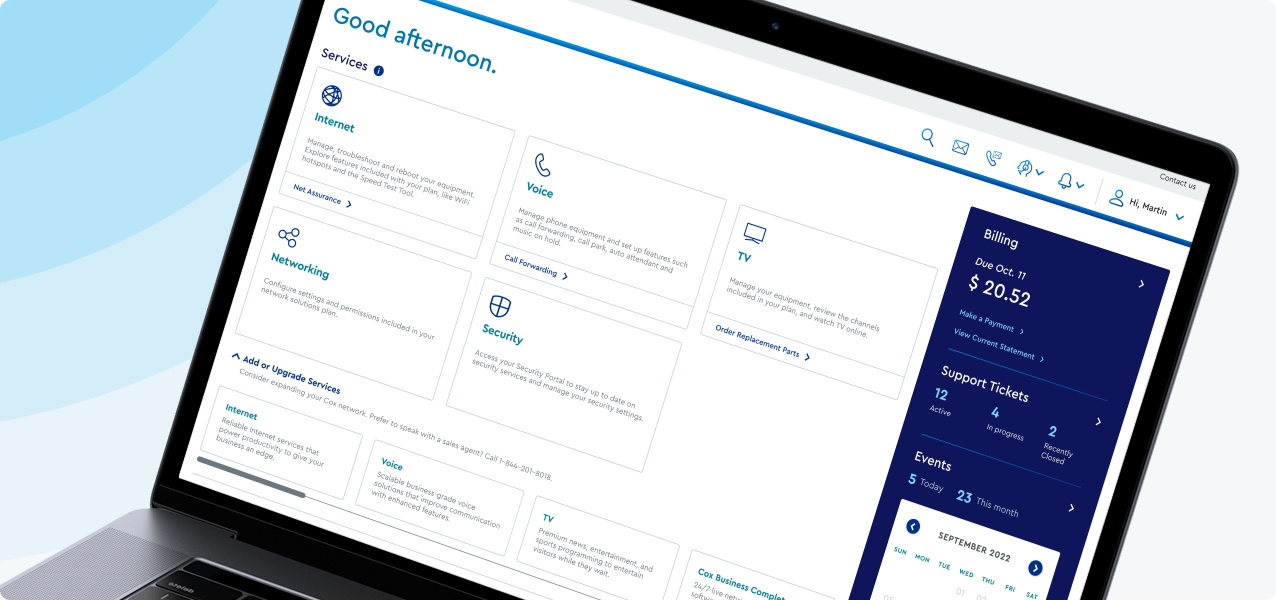
Cox Business MyAccount Updates

With the new and improved MyAccount portal from Cox Business, you’re in control. Included with your Cox Business services, it’s all right at your fingertips anytime, anywhere. 


  • Perform a health check on your services and reset your equipment
  • Easily configure key features and settings like voicemail and call forwarding
  • View your balance and schedule payments

Search Cox Business Support

Didn't Find What You Were Looking For? Search Here.