Remote Access allows you to remotely access and manage your Internet Gateway settings from anywhere in the world. When Remote Access is enabled, you are able to securely access your gateway, via the IP address and through the specific port that you assign in the Remote Management section of your gateway. The most common port used is 443.
Once you have enabled Remote Access, you can securely access the Administrative portal login page by entering your WAN IP address and the port number assigned.
Example: Open your web browser and enter https://16.242.178.247/443.
Note: Your IP address, static or dynamic, is the one that you use to access the internet.
If you do not know your IP address, you can see Viewing Your IP Address in MyAccount for steps to locate your static IP address. You can also visit www.whatismyipaddress.com to see your static or dynamic IP address currently in use.
Setting Remote Access in the Technicolor CGA4131 or Technicolor CGA4332 Administrative Portal
Solution
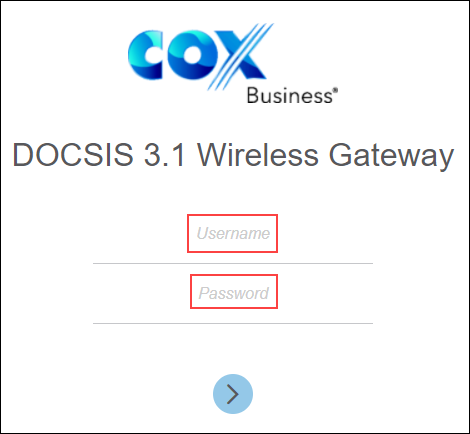
Open a web browser and enter http://192.168.0.1.
Enter your username and password.
Note: If this is your first time accessing the administrative portal, then you will need to leave the username and password fields blank.
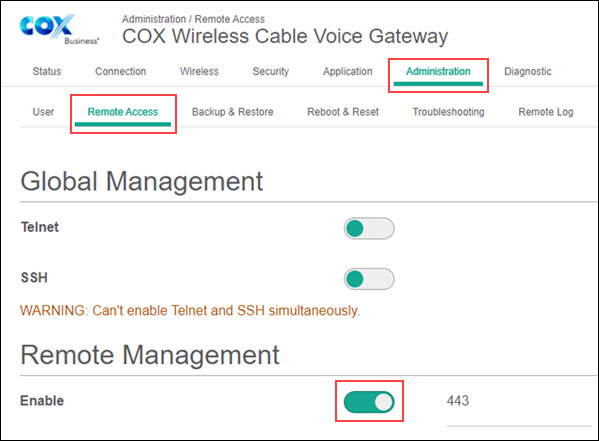
Click the Administration tab.
- Click the Remote Access tab.
- From the Remote Management section, click Enable.

Note: The default port to use is 443.
In the Remote Access Control section, from the Access Type drop-down menu, select one of the following access types.
Note: The Remote Access Control section allows you to set additional security measurements so that you can limit or expand who may access your gateway remotely.
- Single Computer: Enter the IPv4 or IPv6 address for that computer.
- Range of IPs: Enter the range of IPv4 or IPv6 addresses in the Start and End fields.
- Any Computer: For this option, Cox recommends that you click the User tab and create a secure password. This allows for increased security access. You can provide this information to your IT provider.
Click Save.

Cox Business MyAccount Updates
Cox Business MyAccount Updates
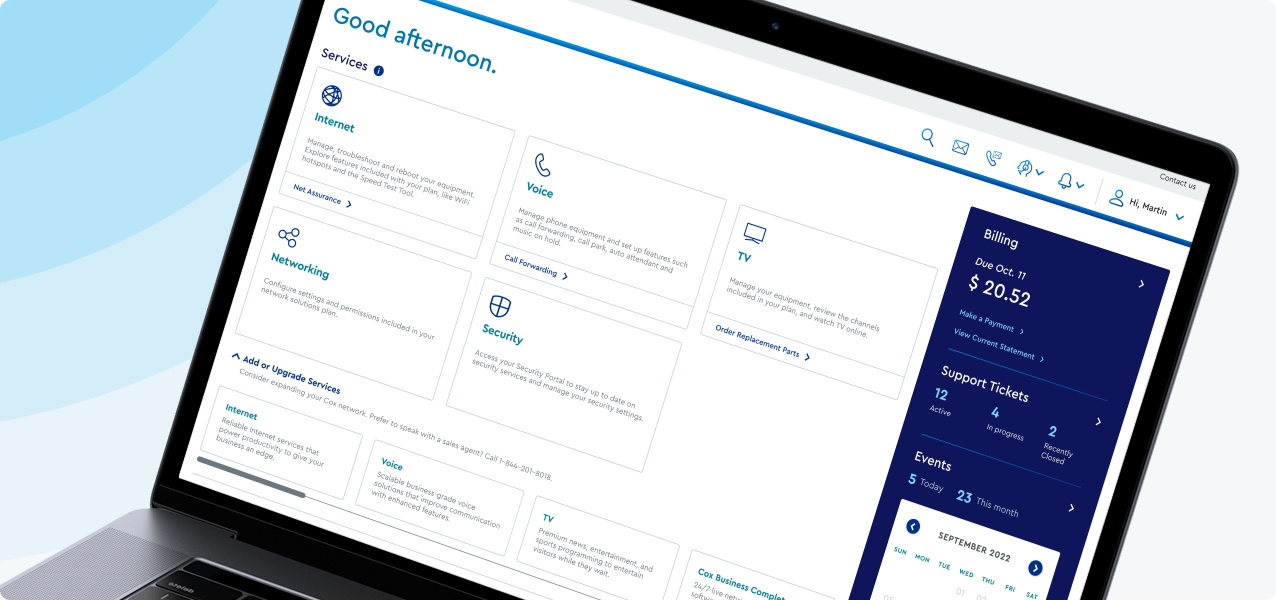
With the new and improved MyAccount portal from Cox Business, you’re in control. Included with your Cox Business services, it’s all right at your fingertips anytime, anywhere.
- Perform a health check on your services and reset your equipment
- Easily configure key features and settings like voicemail and call forwarding
- View your balance and schedule payments
Search Cox Business Support
Search Cox Business Support
Didn't Find What You Were Looking For? Search Here.