Use MyAccount to take your Trunk Groups in or out of service.
Taking Trunk Groups In or Out of Service Online
Solution
1
Go to myaccount-business.cox.com and enter your User ID and Password, then click the Sign In button.
2
From the Services section, click the Voice icon.
![]()
3
Click the Trunk Group Management icon.
![]()
The Trunk Group Management window displays.
4
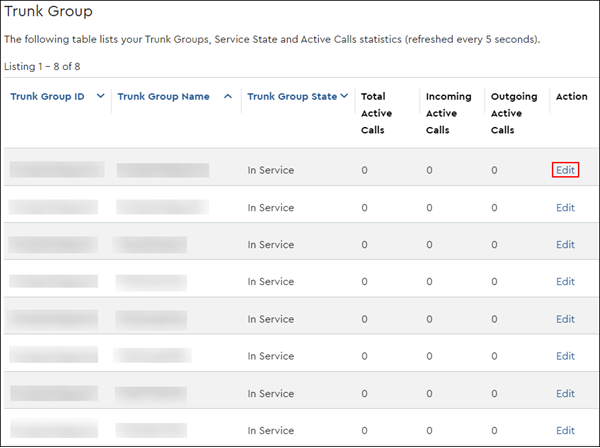
From the Trunk Group section, next to the Trunk Group ID you need to take in or out of service, click Edit.

5
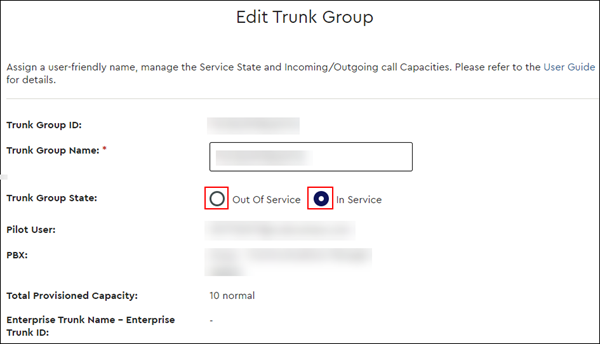
Depending on your business needs, click the radio button next to either Out of Service or In Service.
- Out of Service sets the trunk group maximum active incoming and outgoing call capacities to zero, causing the Trunk Group to not accept new calls or make outgoing calls.
Note: Calls currently in progress are not affected by the change, so taking a Trunk Group out of service will not drop any calls on that line. - In Service restores the maximum active incoming and outgoing call capacities to the fully provisioned capacities.


Cox Business MyAccount Updates
Cox Business MyAccount Updates
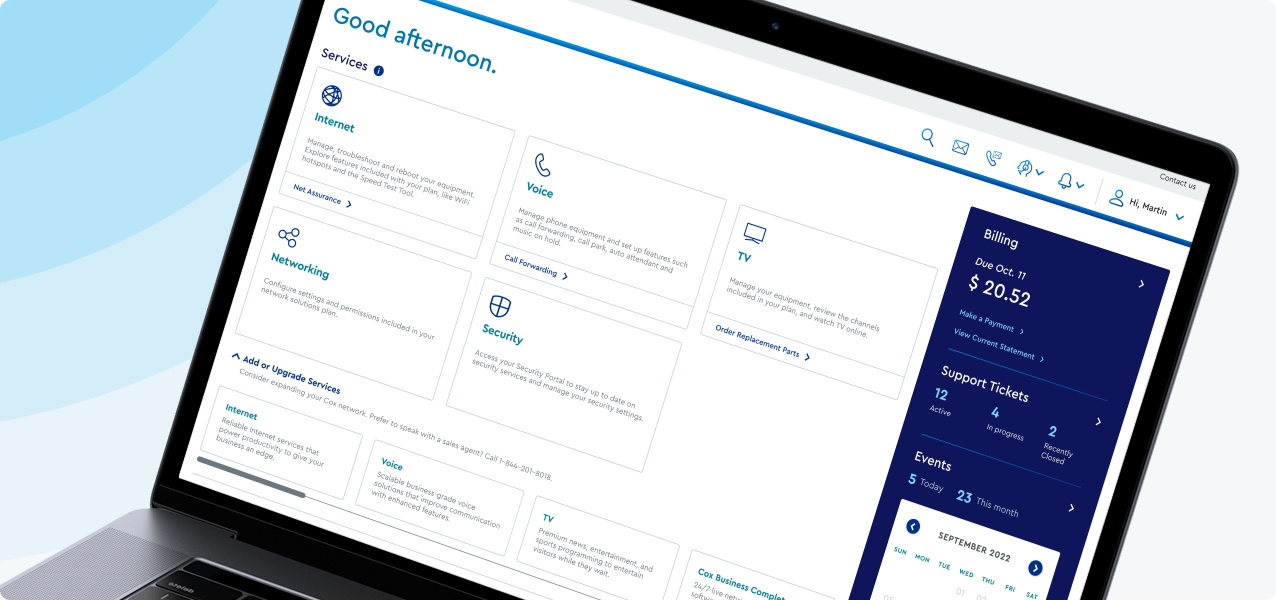
With the new and improved MyAccount portal from Cox Business, you’re in control. Included with your Cox Business services, it’s all right at your fingertips anytime, anywhere.
- Perform a health check on your services and reset your equipment
- Easily configure key features and settings like voicemail and call forwarding
- View your balance and schedule payments
Search Cox Business Support
Search Cox Business Support
Didn't Find What You Were Looking For? Search Here.