Complete the steps below to upload an Auto Attendant greeting.
Uploading an Auto Attendant Greeting
Solution
Go to myaccount-business.cox.com, enter your User ID and Password, and then click Sign In.
Note: If you do not remember your User ID or Password, or experience an issue signing in, see Trouble Signing in on the Cox Website.
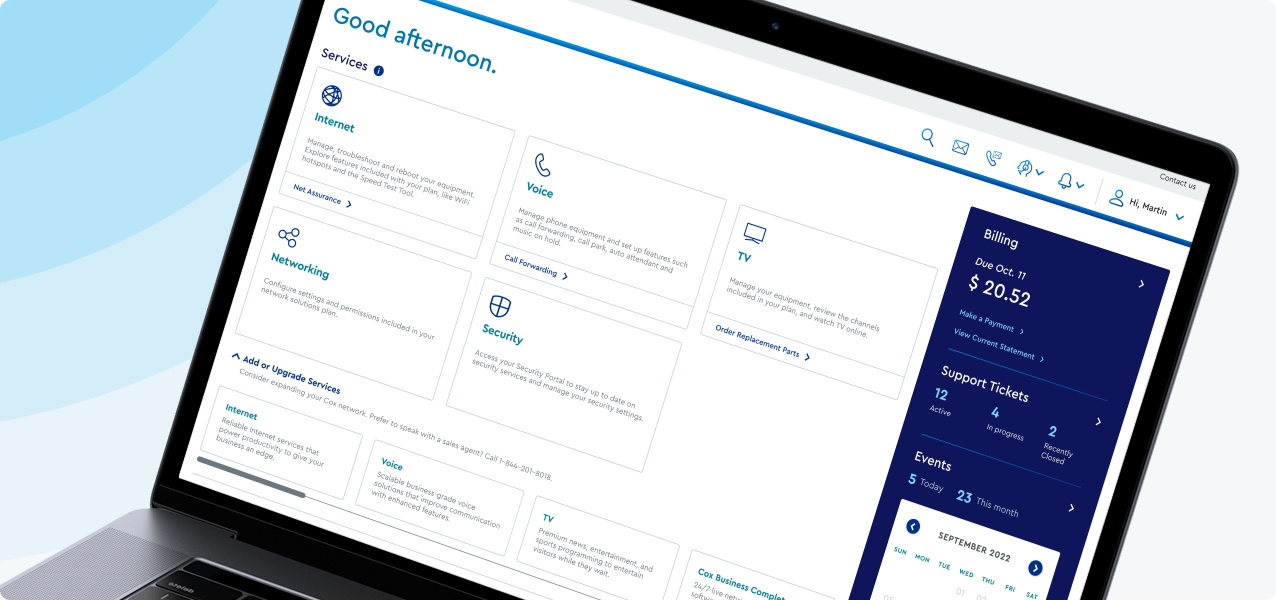
From the Services section, click the Voice icon.
![]()
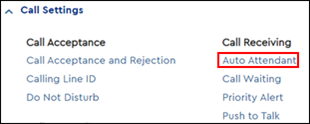
Click the Call Settings arrow to expand the section, and then click Auto Attendant.

Note: If the Auto Attendant option does not display, go to www.coxbusiness.com/contactus to speak with our Sales team about adding this feature.
Locate the Auto Attendant and then click Edit under the Management column.
Use the steps in the table below to update the greeting for the appropriate hours.
| Hours | Steps |
|---|---|
| Business hours |
|
| After hours |
|
| Holiday hours |
|
From the Custom drop-down menu, select Add New and then click the Add link.
Results: The Select Greeting page displays.
On the Select Greeting page, complete the following steps.
- Click Choose File.
- Locate the file on your computer and then click Open.
- Read the Disclaimer and then click the I have read and understand the disclaimer check box.
- Click Continue.
Result: The Custom drop-down menu displays the name of the uploaded file.
Click Save.

Cox Business MyAccount Updates
Cox Business MyAccount Updates
With the new and improved MyAccount portal from Cox Business, you’re in control. Included with your Cox Business services, it’s all right at your fingertips anytime, anywhere.
- Perform a health check on your services and reset your equipment
- Easily configure key features and settings like voicemail and call forwarding
- View your balance and schedule payments
Search Cox Business Support
Search Cox Business Support
Didn't Find What You Were Looking For? Search Here.