Video Motion Detection Best Practices
You must adjust how your camera detects and records motion to insure that you are capturing clips of interest and avoid unwanted motion-triggered recordings. The Video Motion Detection (VMD) window sizes and locations, in conjunction with sensitivity and target size, are variables that can be adjusted for each camera to insure important motion clips are saved to the cloud.
Window Locations and Sizes
- Each camera allows a maximum of three VMD windows.
- Access VMD from the subscriber portal, see Configuring Video Motion Detection Settings in Your Subscriber Portal for detailed steps.
- To optimize your VMD window, avoid selecting highly dynamic areas. Examples of those types of areas are listed below.
- Trees and bushes (which may trigger movement due to wind)
- Large reflective surfaces
- Large areas where shadows could be cast. Remember to think about how the lighting may change throughout the day. An area that was not shaded may become shaded later in the day.
- The VMD windows should not overlap. Overlapping VMD windows may lead to false triggers and unwanted recordings.
Target Size
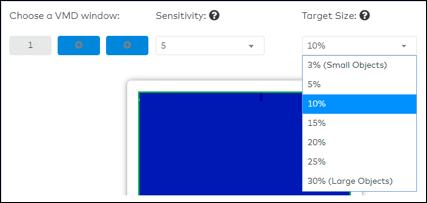
Target size is the percentage of the motion detection window that detects motion for a motion clip to be triggered and saved to the cloud. Follow the tips below when setting a target size.
- Setting a small target size percentage allows smaller items to trigger recordings.
- Setting a large target size percentage triggers recordings when that percent of the VMD detects motion.

Sensitivity
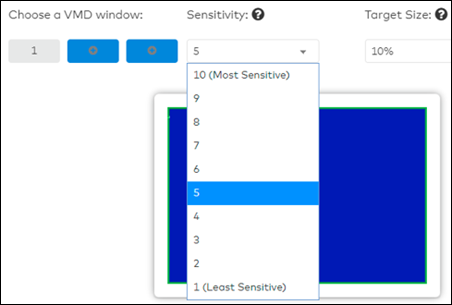
Sensitivity is a measure of how drastic a change is needed to trigger a clip. Higher sensitivity allows more motion to be detected by the camera and more motion clips to be captured and saved to the cloud. Follow the tips below to adjust the sensitivity.
- Start with a sensitivity of seven and fine-tune from there.
- If the sensitivity needs to be maxed at 10, then adjust the window placement, size, and target size also.

