• Contact Us
  • Select a Location
    Close Location Selection

    Current Location:

    Let us know the location you'd like to browse.

    Select a Location
    OR

Generating a Report in Your Subscriber Portal

Solution

In the subscriber portal, you may view system reports on the following:

  • Location Summary Report: Graphs sensor activity, opening, and closing events for the reporting period
  • Location Open/Close Report: Shows open or closed events for the location
  • Alarms & Issues Report: Shows all alarms and issues for the location
  • Sensor Activity Report: Shows a count of sensor activations and the first and last activation time for the reporting period
  • Arming/Disarming Summary: Provides the date and time for all arming and disarming activity
  • Heating and Cooling Health Report: Shows a monthly heating and cooling usage analysis with runtime statistics

The reports may be generated to run daily, weekly, or monthly and delivered to email recipients assigned to receive the reports.

Follow the steps below to generate reports in the Security Solutions Subscriber Portal.
1

Go to myaccount-business.cox.com, enter your User ID and Password, and then click Sign In.
 

Note: If you have not created a MyAccount profile with a User ID and Password, see Setting Up Your MyAccount Profile.

2

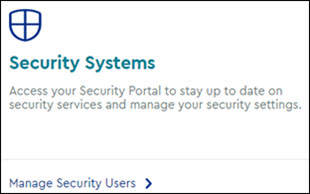
From the Services section, click the Security Systems icon.
 

image of Online Dashboard Security Systems Icon

3

Do you have more than one account?

  • If no, then continue to the next step.
  • If yes, then from the Select an account drop-down menu, select the account to modify.

    image of select an account drop-down
4

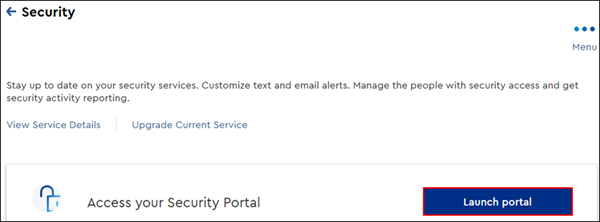
From the Security page, click the Launch portal button.
 

image of Cox WiFi icon

2

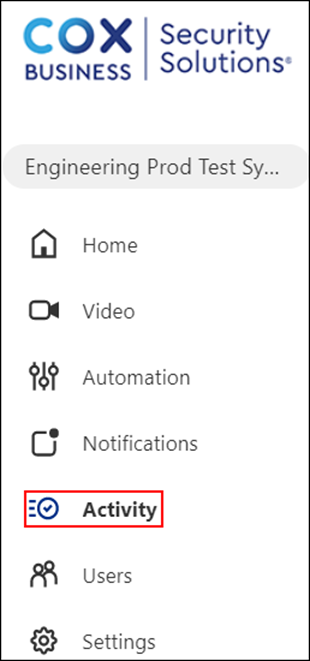
From the left-hand menu of the Subscriber Portal homepage, click Activity.
 

Image of Activity option

3

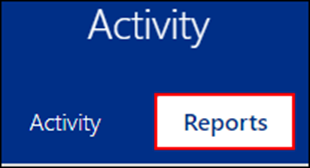
From the Activity window, click Reports.
 

Image of Activity window Reports button

4

To create a new report, complete the following steps.

  1. From the Reports page, click +NEW REPORT.

    Image of Add New Report button

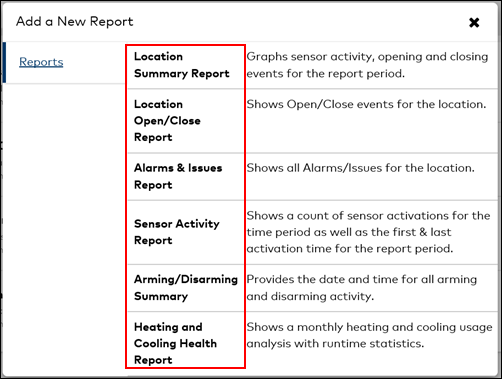
  2. The Add a New Report pop-up window displays a selection of reports to choose from. Click on the report type that you would like to create.

    Image of Add New Report pop-up window

  3. From the Report page, enter the necessary information to create the report. The toggle next to the report title displays blue to indicate the report is scheduled to run.
  4. Click +ADD to include additional notification recipients.

    Image of Add button

  5. From the Address Book pop-up window, select the recipients to receive the alarm notification.

    Note: To add a new entry, click +NEW and enter the first name, last name, mobile number, and email address of the new contact.

  6. Click CLOSE.
5

To edit a report, complete the following steps.

  1. From the Reports page, locate the report you would like to edit and then click the pencil icon.
  2. On the Report page, complete the desired edits.
  3. To turn the reporting off, click the toggle next to the report title to display gray.
  4. To cancel the changes to the report, scroll to the bottom of the Report window, and click the CANCEL button.
New MyAccount

Cox Business MyAccount Updates

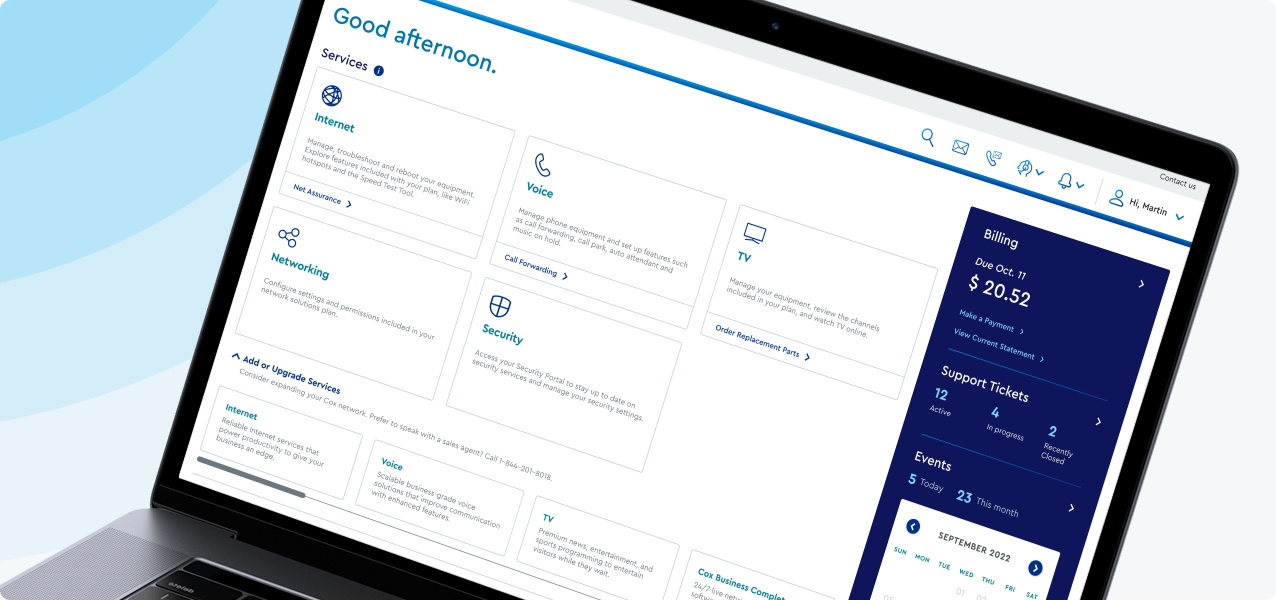
With the new and improved MyAccount portal from Cox Business, you’re in control. Included with your Cox Business services, it’s all right at your fingertips anytime, anywhere. 


  • Perform a health check on your services and reset your equipment
  • Easily configure key features and settings like voicemail and call forwarding
  • View your balance and schedule payments

Search Cox Business Support

Didn't Find What You Were Looking For? Search Here.