Use the steps below to manage email storage for each mailbox.
Managing Business Email Storage Online
Solution
Go to myaccount-business.cox.com, enter your User ID and Password, and then click Sign In.
Note: If you have not created an online profile with a User ID and Password, refer to Setting Up Your Online Profile.
From the Services section, click the Internet icon.
![]()
Note: If the icon does not display, then click the arrow to view other available options.
From the Features section, click the Email Administration icon.
![]()
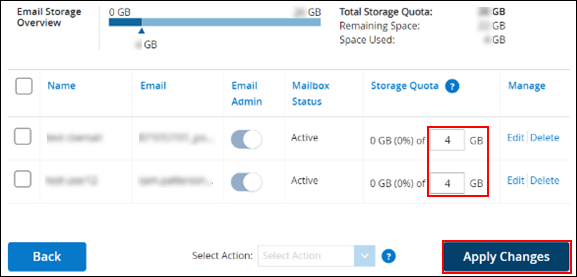
From the Email Administrator page, in the Email Storage Overview row, locate the field Total Storage Quota and determine if you need more storage.

| If... | Then... |
|---|---|
| If no changes are needed | Continue to the next step. |
| More storage is necessary |
|
From the Email Administrator page, in the Storage Quota column, enter the total storage to allocate to each user, then click Apply Changes.

Note: To view actual usage amounts, access your Cox Business Email inbox. See Checking Your Email Storage in Cox Business Webmail.
On the Confirmation pop-up window, click Confirm.
Result: The pop-up window closes and the Email Administration page displays the updated remaining storage and allocation amounts.

Cox Business MyAccount Updates
Cox Business MyAccount Updates
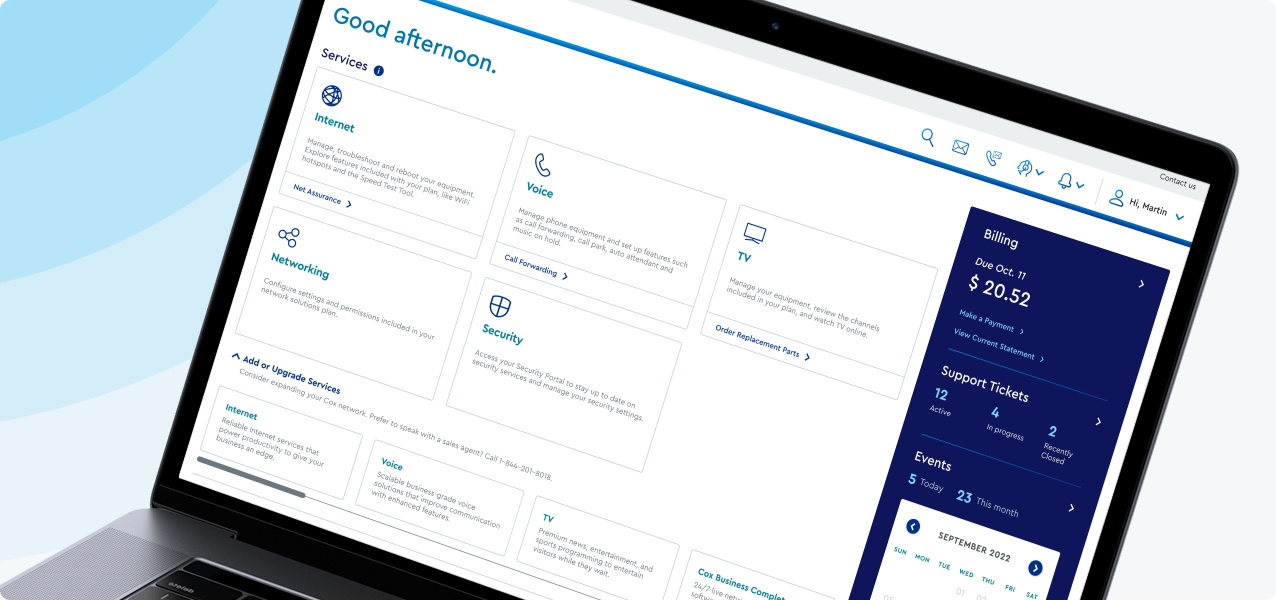
With the new and improved MyAccount portal from Cox Business, you’re in control. Included with your Cox Business services, it’s all right at your fingertips anytime, anywhere.
- Perform a health check on your services and reset your equipment
- Easily configure key features and settings like voicemail and call forwarding
- View your balance and schedule payments
Search Cox Business Support
Search Cox Business Support
Didn't Find What You Were Looking For? Search Here.