After an employee profile has been created, follow the steps below to assign or un-assign numbers in MyAccount.
Note: A phone number must be assigned to a user profile in order to set up features like call forwarding or voicemail.
After an employee profile has been created, follow the steps below to assign or un-assign numbers in MyAccount.
Note: A phone number must be assigned to a user profile in order to set up features like call forwarding or voicemail.
Go to myaccount-business.cox.com, enter your User ID and Password, and then click Sign In.
Note: If you have not created a MyAccount profile with a User ID and Password, see Setting Up Your MyAccount Profile.
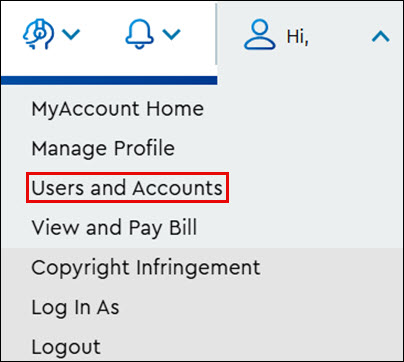
From the MyAccount home page, click the Users and Accounts icon.

Result: The Users tab displays.
From the Users tab on the Users and Accounts page, locate the user you are editing by doing one of the following.
Click the arrow to access the edit option.

From the Personal Info tab, click Edit.
Click the drop-down arrow in the Cox Business Phone and Ext box and refer to the following table based on the action you are taking.
| If... | Then... |
|---|---|
| The field is blank and you are assigning a number | Click the available number. Note: Click to check the Send Voice Welcome Email box if applicable. |
| If a number is assigned and you want to remove it from the user |
|
| If a number is assigned and you want to change the number for the user |
|
Click Save.

Cox Business MyAccount Updates
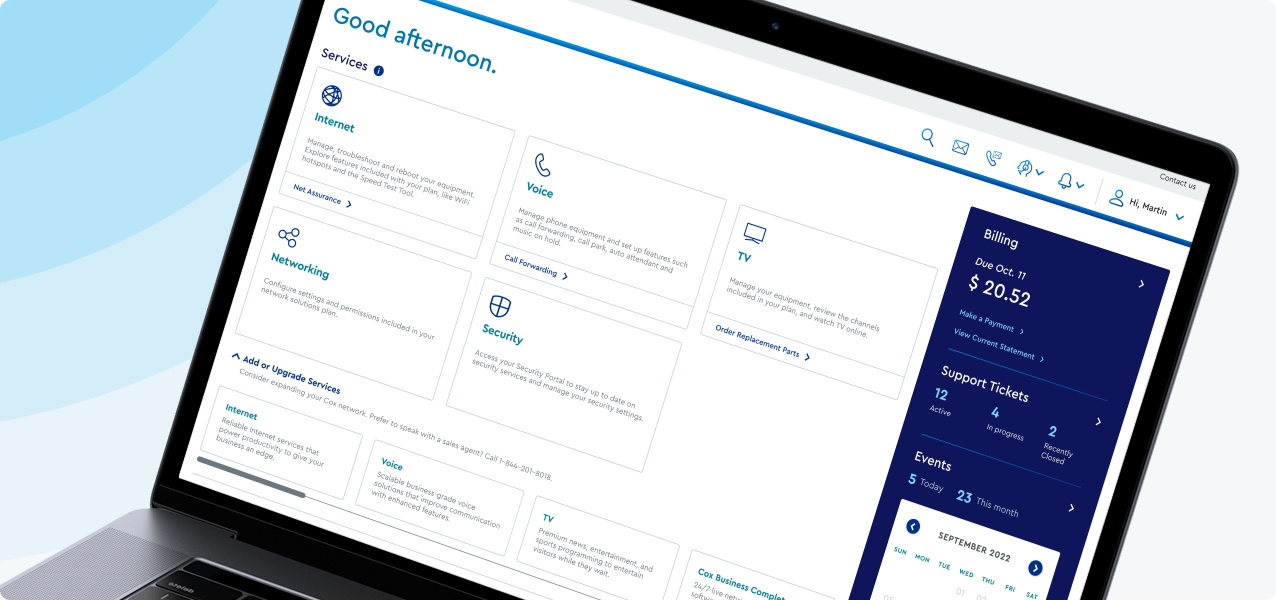
With the new and improved MyAccount portal from Cox Business, you’re in control. Included with your Cox Business services, it’s all right at your fingertips anytime, anywhere.
Search Cox Business Support
Didn't Find What You Were Looking For? Search Here.