Complete the following steps to install a Polycom 5000 or 6000 IP Centrex conference phone.
Self-Installing a Polycom 5000 or 6000 Conference Phone
Solution
Complete the following steps to confirm the E911 address information for the location of your IP Centrex equipment.
- Go to myaccount-business.cox.com, enter your User ID and Password, and then click Sign In.
Note: If you have not created an online profile with a User ID and Password, refer to Setting Up Your Online Profile. - From the home page, click the Voice icon.

- From the Business Voice page, in the Features section, click User & System Management.
- Select Manage E911 Information.
- Follow the on-screen instructions.
Important: The E911 Address information must be updated anytime the phone is moved to a new location. Affix the included decal so that users can view this information.
Connect the Ethernet cable to an active port on your router, firewall, or LAN switch and to the LAN port on the bottom of the phone. Press the cable into the groove to secure it into place.
Connect the extension microphones to the ports on the bottom of the phone if you wish to use them. Press the cables into the grooves to secure them into place.
Connect the power adapter cable to the port on the middle of the Ethernet cable and to the power outlet if needed.
Note: The phone is ready to use when the line keys are lit green. This may take up to 3 minutes.

Cox Business MyAccount Updates
Cox Business MyAccount Updates
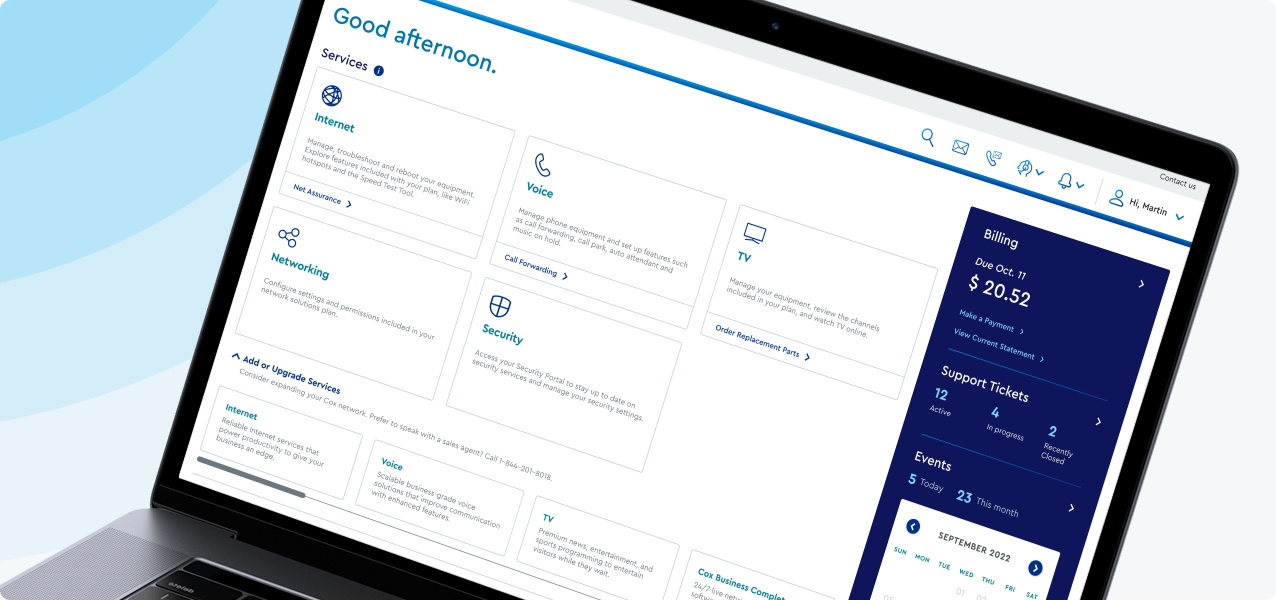
With the new and improved MyAccount portal from Cox Business, you’re in control. Included with your Cox Business services, it’s all right at your fingertips anytime, anywhere.
- Perform a health check on your services and reset your equipment
- Easily configure key features and settings like voicemail and call forwarding
- View your balance and schedule payments
Search Cox Business Support
Search Cox Business Support
Didn't Find What You Were Looking For? Search Here.