Use the following steps below to enable the Sequential Ring feature.
Setting Up Sequential Ring
Solution
Go to myaccount-business.cox.com, enter your User ID and Password, and then click Sign In.
Note: If you have not created a MyAccount profile with a User ID and Password, see Setting Up Your MyAccount Profile.
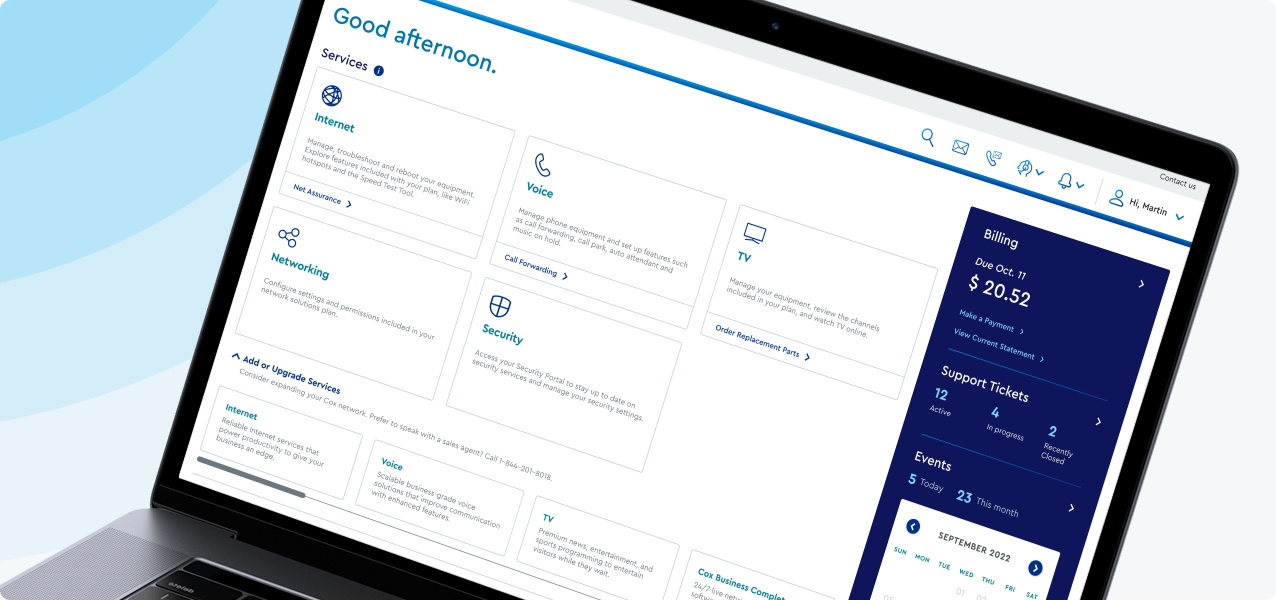
From the Services section, click the Voice icon.
![]()
Do you have more than one account?
- If no, then continue to the next step.
- If yes, then from the Select an account drop-down menu, select the account to modify.

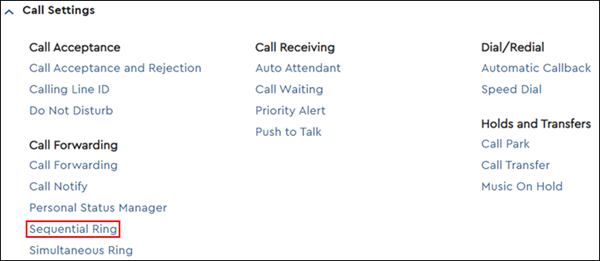
Click the Call Settings arrow to expand the section, and then click Sequential Ring.

Click the Ring My Phone Number First checkbox to ring your phone number before routing calls to the next phone number in the list.
Click the Skip to Next Number if Busy checkbox to ring the next number in the list if a number is busy.
Click the Allow Caller to Skip Sequence checkbox for the call to advance to the first available number in the list.
Note: You may choose to route all or only selective incoming calls to your Sequential Ring List. To route only selective calls, you must add rules determining when calls are routed.
Click the Add Another Number link. You can enter up to 5 numbers.
Enter the Phone Number to which calls should be routed.
Choose Yes or No from the Answer Confirmation drop-down menu.
Click the Rings drop-down menu to select the number of rings before the call is forwarded.
Click Delete to delete any number from your list.
Click Save to complete your list.
To activate Sequential Ring, you must have at least one Sequential Ring Rule turned On.
Click Save.

Cox Business MyAccount Updates
Cox Business MyAccount Updates
With the new and improved MyAccount portal from Cox Business, you’re in control. Included with your Cox Business services, it’s all right at your fingertips anytime, anywhere.
- Perform a health check on your services and reset your equipment
- Easily configure key features and settings like voicemail and call forwarding
- View your balance and schedule payments
Search Cox Business Support
Search Cox Business Support
Didn't Find What You Were Looking For? Search Here.