Unbox your Battery Backup device.
Step 1 - Installing the Battery Backup System
To begin using your Cox Business Net Assurance device, you must install the battery backup system. Follow these steps to start the installation process.
Place the Battery Backup device on the side.
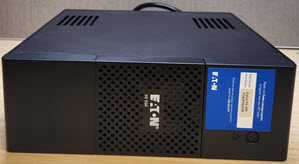
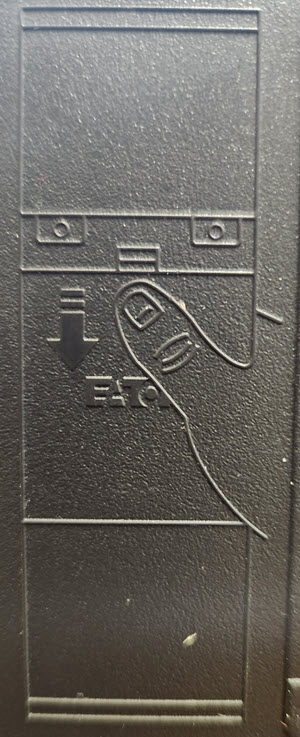
Place your thumb at the middle top of the grated panel on the Battery Backup device and slide it across to reveal the battery and wiring area.
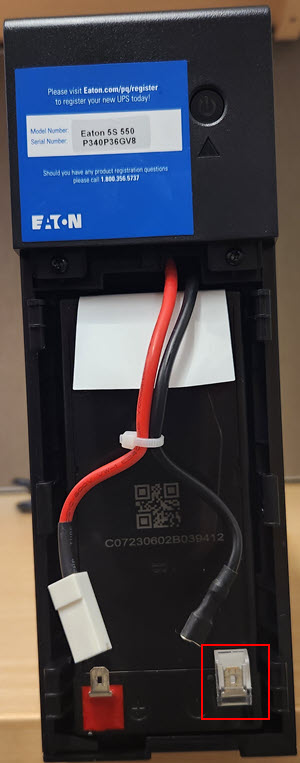
Locate the black cable within the compartment and connect it to the matching port on the right side of the battery compartment.
Connect the red cable to the matching port on the left side of the battery compartment.
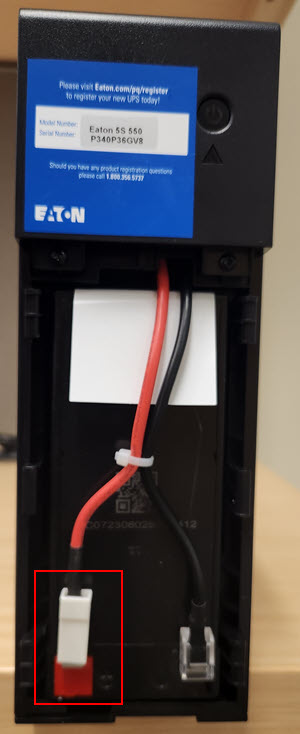
Once both cables are securely connected, close the grated panel to conceal the battery and wires.

Plug in the Battery Backup device to a power outlet.
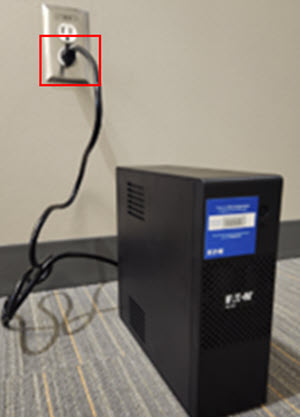
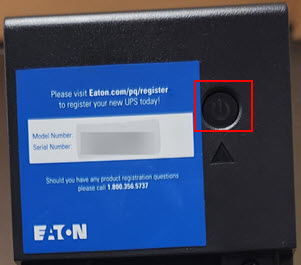
Press and hold the battery power button until the short beep to power it on.
Cox Business MyAccount Updates
Cox Business MyAccount Updates
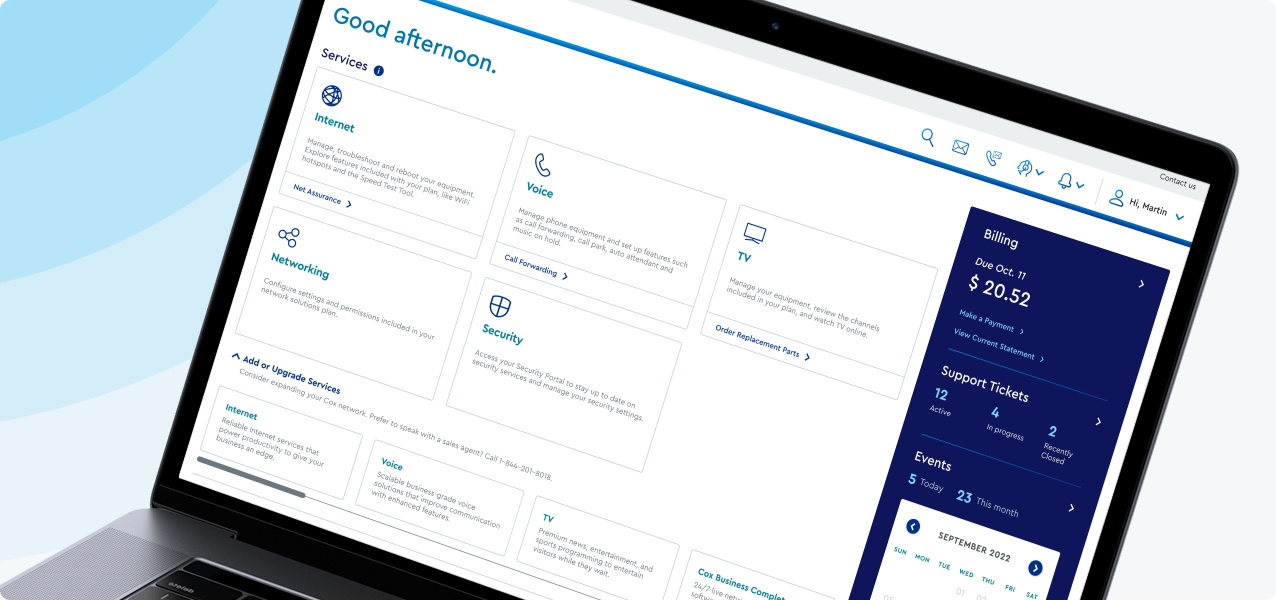
With the new and improved MyAccount portal from Cox Business, you’re in control. Included with your Cox Business services, it’s all right at your fingertips anytime, anywhere.
- Perform a health check on your services and reset your equipment
- Easily configure key features and settings like voicemail and call forwarding
- View your balance and schedule payments
Search Cox Business Support
Search Cox Business Support
Didn't Find What You Were Looking For? Search Here.